Step 5. Inventory & Items
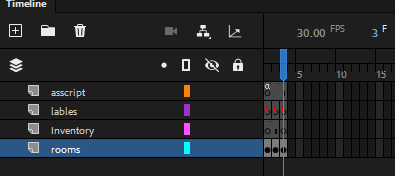
Inside the game MovieClip, make a new layer to put the inventory.
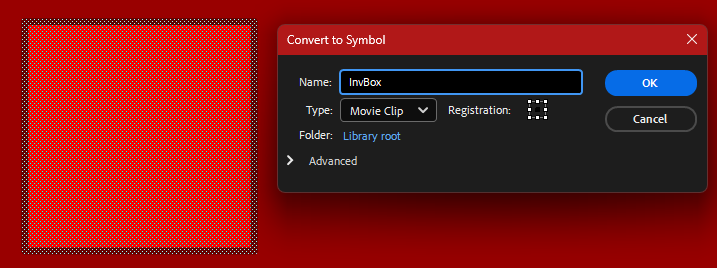
Draw the inventory starting in the first room, as the inventory isn’t needed in the main menu or intro. Convert it into a symbol and give it an instance name. Inside the inventory, make a new layer to put the inventory boxes in and draw one box. Turn it into a MovieClip
Using this movieclip, place as many as you want.
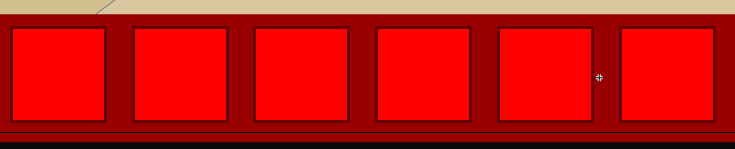
(Pro tip #3: Use the align tool and, with align to stage off, use the space button to evenly space it out)
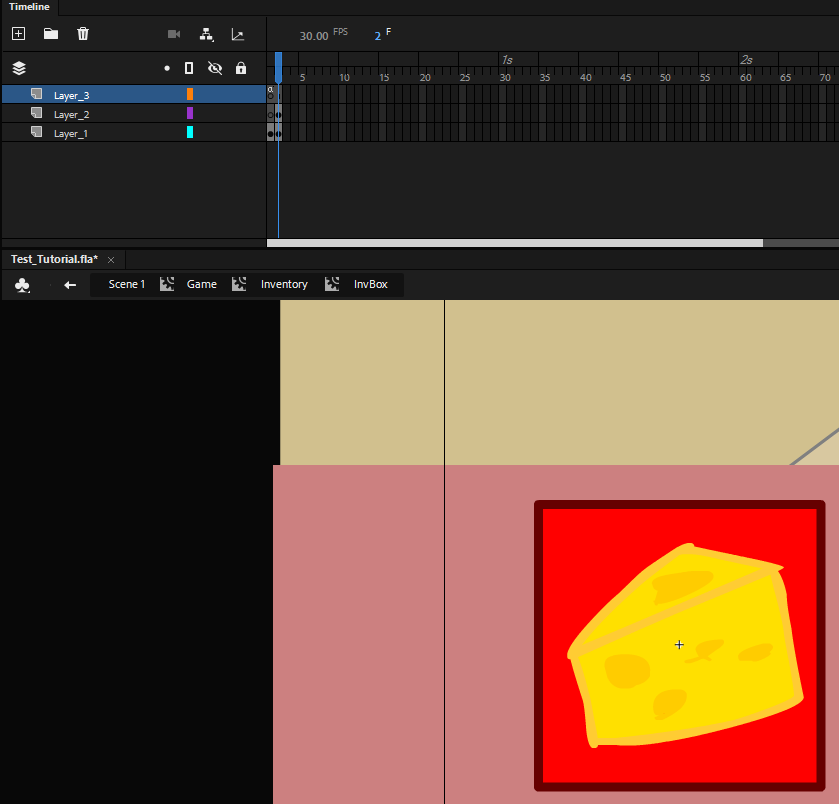
Now it’s time for the item part of this step. Inside your room, take one of the objects you want to make an item and give it an instance name, if you haven’t already.

The cheez in question:
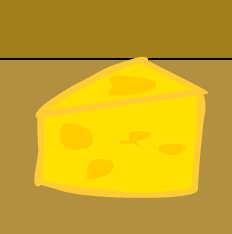
(Pro tip #4: If the item is really small, draw a transparent white rectangle over it to give it a bigger hitbox.)
While still being inside the room symbol. Make a new layer to place da code in and use the same structure as making the start button.
this.cheezmc.addEventListener(MouseEvent.CLICK, cheezget);

function cheezget(event: MouseEvent): void {

}
Go back to the inventory and into any of the inventory boxes, make a new frame to place your item in.
Make sure to place a stop(); on the first frame to prevent it from going through all the frames and making it flicker. Make a new layer to place the labels on.
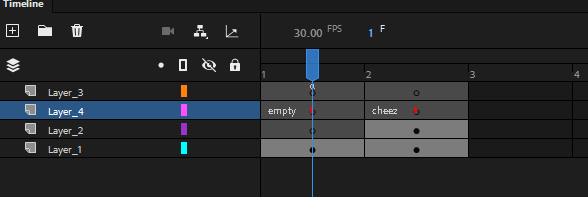
I have it zoomed in so you can see the label.
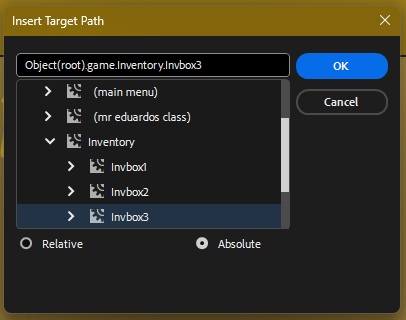
Exit it out of the InvBox symbol and give each of them an instance name. Number them off like Invbox1, Invbox2, Invbox3, etc. Be sure to also give the inventory as a whole an instance name. Now, going back to the room where the item is, we can finish the code by telling one of the inventory boxes to go to the “cheez” frame (or whatever you called your frame). Use the previously mentioned target patch to find the item box.
this.cheezmc.addEventListener(MouseEvent.CLICK, cheezget);

function cheezget(event: MouseEvent): void {
	Object(root).game.Inventory.Itembox3.gotoAndStop(“cheez);
}
Ctrl+Enter to test it, and it should work. However, the cheese is still showing. This can be easily fixed by using the visible property. To make a long story short, each object has properties that you can edit. To make it invisible, you change the visible property to false.
this.cheezmc.addEventListener(MouseEvent.CLICK, cheezget);

function cheezget(event: MouseEvent): void {
	this.cheezmc.visible = false;
	Object(root).game.Inventory.Itembox3.gotoAndStop(“cheez);
}
Test it, and now it should disappear.
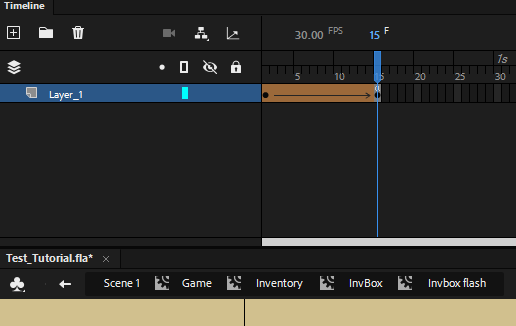
If you want it so, every time a new item is picked up, the box flashes, go inside the Invbox MovieClip, make a new layer, create a square, and convert it into a symbol. Create the animation that is played every time you pick up a new item. I just did a simple fade.
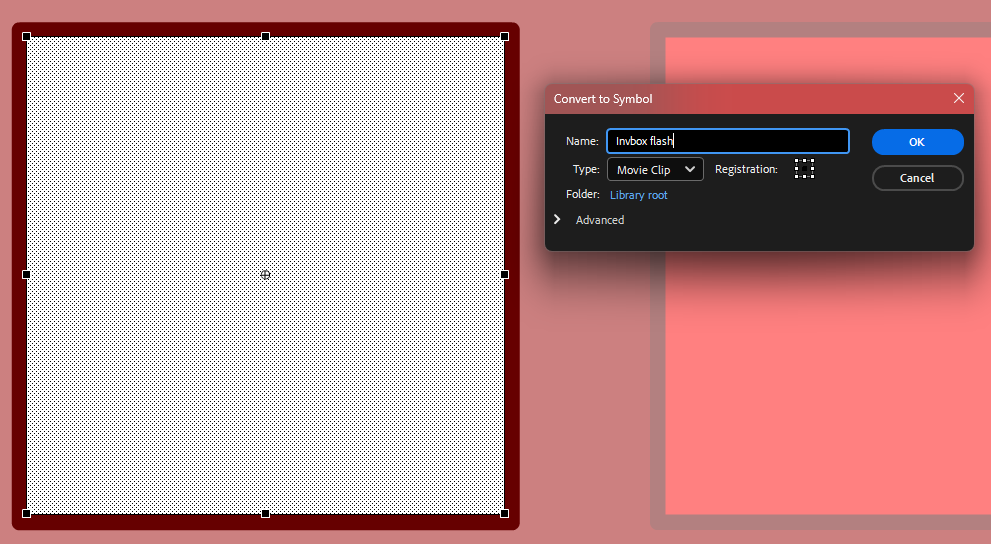
When making the fade, make sure the last frame contains a stop(); so it doesn't loop. Make this layer span the whole thing and give it an instance name.
Now, we need to update the code to make it play this MovieClip.
this.cheezmc.addEventListener(MouseEvent.CLICK, cheezget);

function cheezget(event: MouseEvent): void {
	this.cheezmc.visible = false;
	Object(root).game.Inventory.Invbox3.Itemboxflash.gotoAndPlay(1);
	Object(root).game.Inventory.Invbox3.gotoAndStop("cheez");
}
I don’t think I have to explain what gotoAndPlay does, it's literally in the name of what it does.
SnSQRS
I like this tutorial omg
Minix07
I'm glad you're enjoying it, even if currently incomplete.